
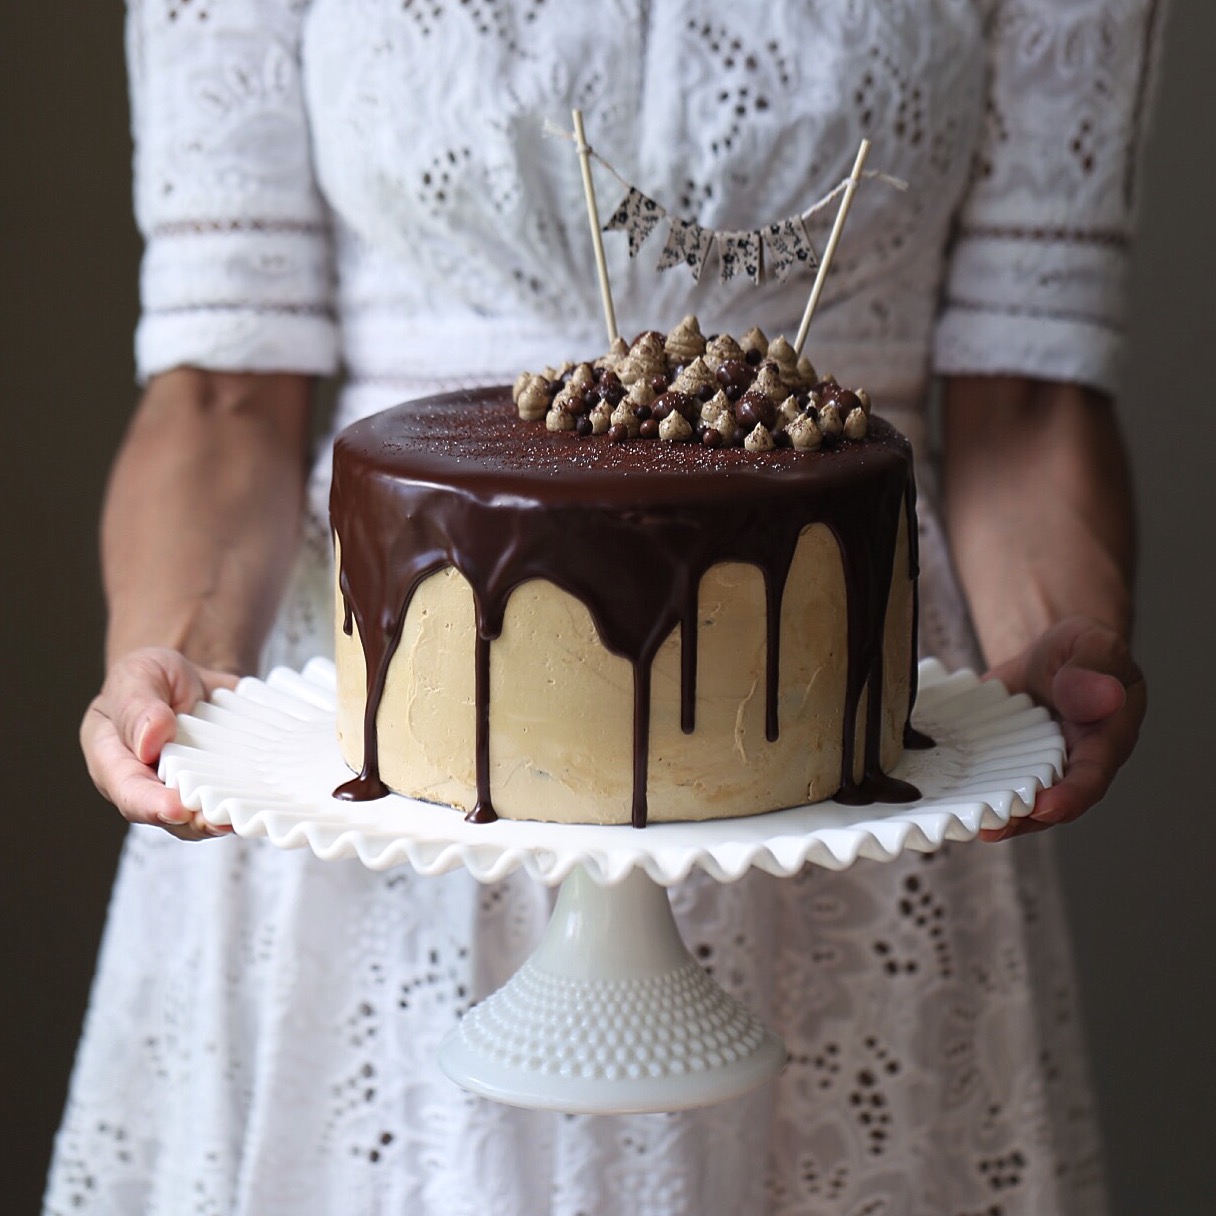
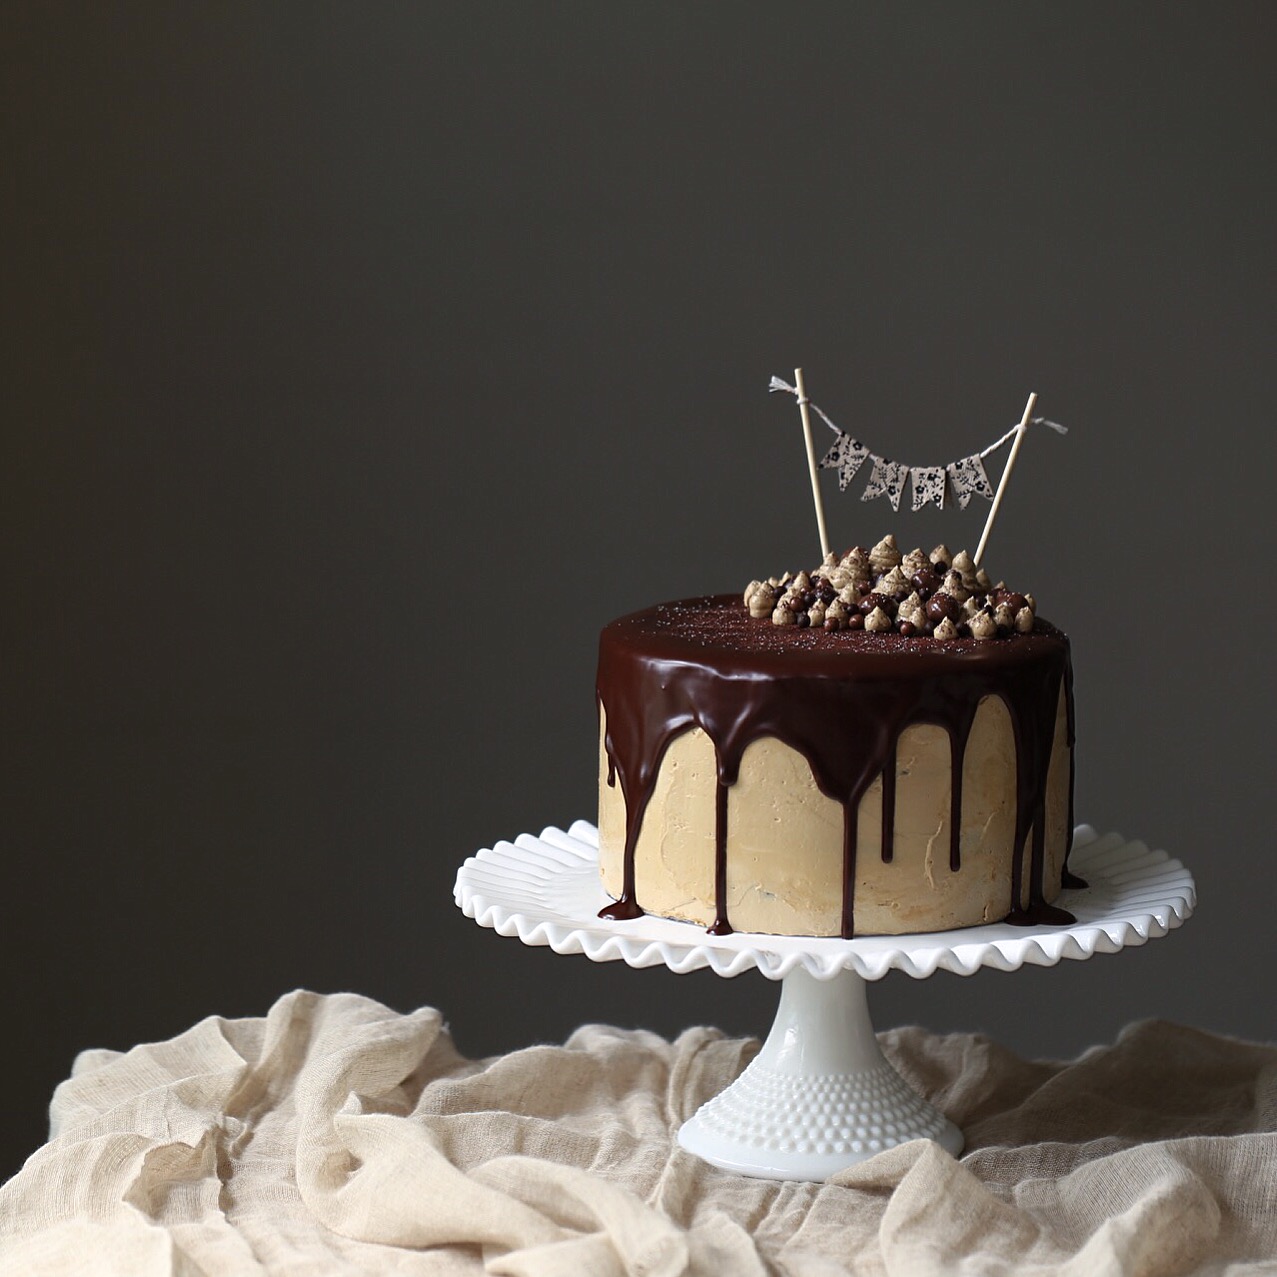
This mocha mud cake is one of my most popular cakes among family and friends, and I can guarantee you’ll be pretty popular yourself if this handsome fella accompanies you to any afternoon tea or celebration. I’ve been baking this recipe in its original unassuming cupcake format for many years, and over time I’ve tweaked it into a luscious layer cake. The cake has a rich heavy texture of a mud cake, with the chocolate flavour intensified by the addition of a little coffee in the batter, and then complemented perfectly by that espresso aroma in the smooth, fluffy swiss meringue buttercream. For best results, I would suggest using the highest quality chocolate and cocoa you can afford.
I decorated this cake with piped buttercream blobs, chocolate covered coffee beans, Valrhona dark chocolate and caramelia crunchy pearls, handmade mini cake bunting and a light dusting of cocoa and icing sugar. The bunting can easily be made by yourself using some pretty ribbon, twine and wooden skewers. I’d suggest getting creative when decorating and using whatever is most easily available to you, for example macarons, meringue kisses, maltesers or honeycomb.
Baking Notes
(1) If this is your first time making Swiss Meringue Buttercream or you encounter any problems while making it, I would highly recommend you refer to my post on Swiss Meringue Buttercream Basics.
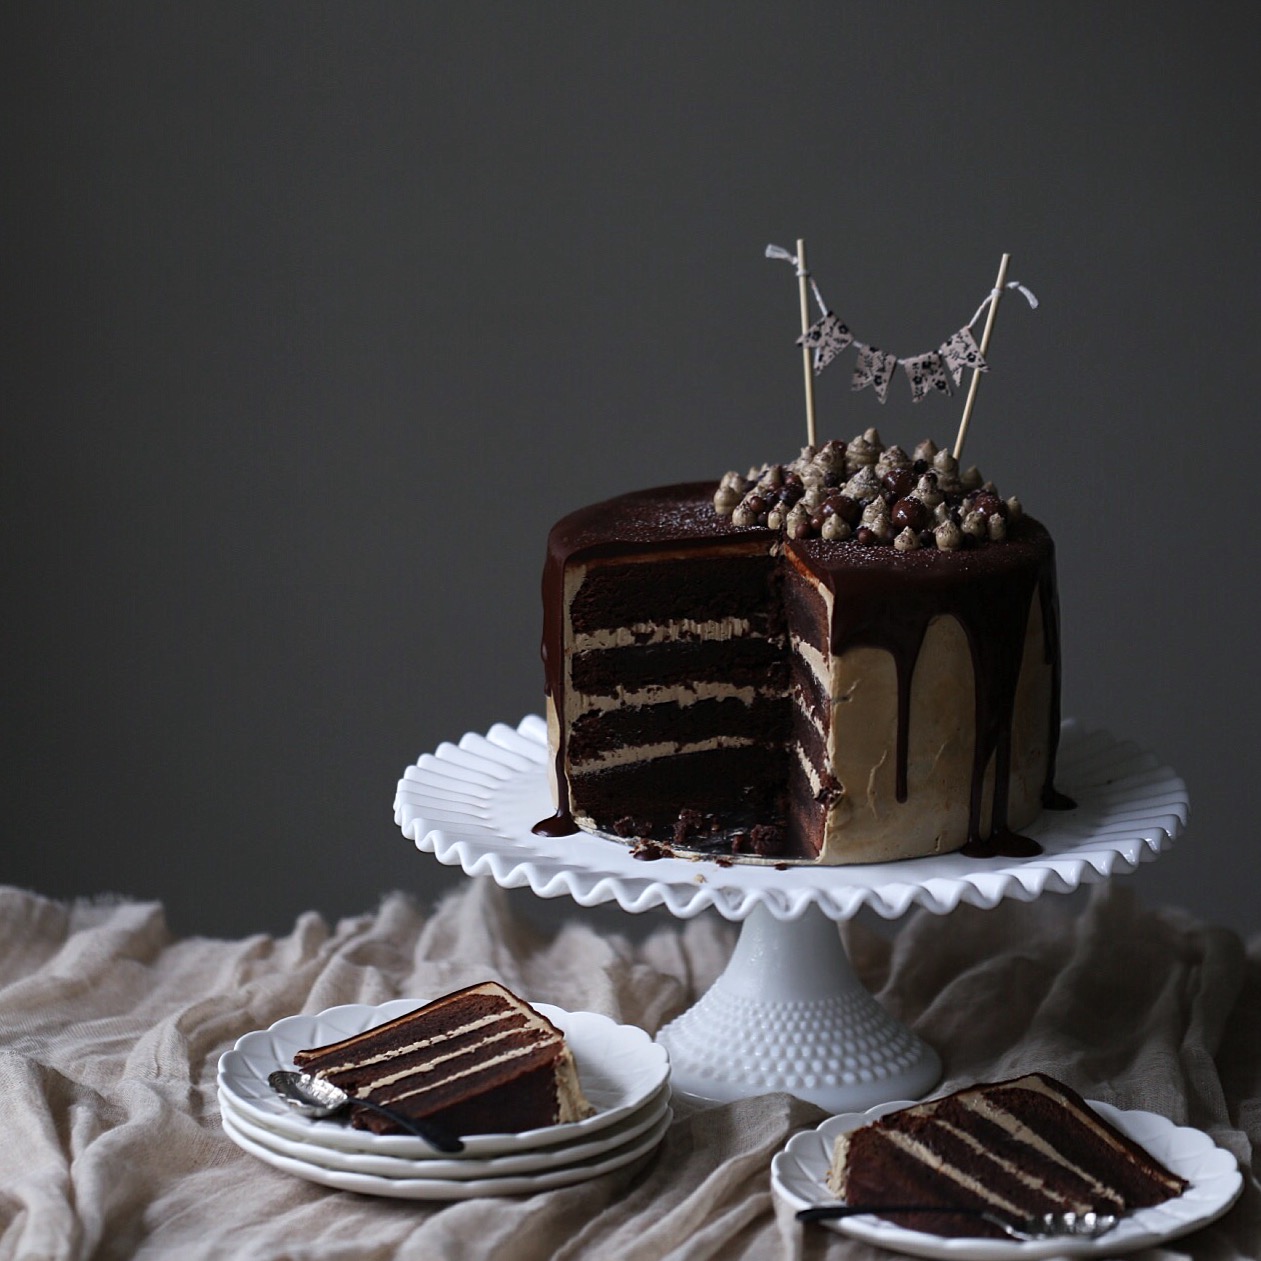
(2) This cake is made by baking two separate 20cm (8”) cakes, leveling each cake and then halving each of them lengthways to create four layers for the completed cake. The ingredients given below are for one completely assembled cake. While you can make the whole cake batter up at once, and then divide it evenly between the two pans, I prefer to halve the recipe below and pour the batter into one pan, then repeat the whole process for the second pan, because I feel it gives a more accurate distribution of ingredients and generates more consistent layers. If opting for the former method, I would suggest weighing the batter when dividing it between the two pans to ensure an even distribution.
(3) This cake bakes with quite a crusty top, and if not removed prior to assembly, slicing your finished layer cake will be quite difficult (trust me, I’ve been there!). Therefore ensure these crusty tops are cut off, both to give your overall cake a much neater appearance and to facilitate easy slicing. Also, if your partner/sibling/friend/housemate is poking their nose around looking for cake when you’re still working on the assembly, it allows you to placate them while you finish creating your masterpiece (yes, I’ve been there too!).
(4) As with all layer cakes, allow yourself adequate preparation time. I usually bake the cake a day or two in advance, and keep it in the fridge, but you can also bake it a few weeks prior and freeze it. If freezing it, I’d suggest leveling each cake and halving them into layers, then wrapping each layer in a generous amount of cling wrap and aluminum foil to prevent freezer burn and unwanted odours. Allow the cake a couple of hours to thaw before frosting it with buttercream. I prefer to subsequently chill the cake briefly again in the fridge after frosting to allow the flavours to develop and the buttercream to set, so when it comes time to serving it, the cake is easier to cut and the layers of cake and frosting remain well-defined. Of course, the cake will taste best by bringing it back to room temperature before serving. This sounds like a lot of time between the bench and the fridge, but I find making layer cakes in stages over a couple of days significantly minimizes the wasted time between. Rest assured, it will be time well spent when you slice into those perfect layers and see the smiles of delight on your loved ones’ faces as they indulge in your incredible cake!
Mocha Mud Cake with Coffee Swiss Meringue Buttercream
Makes a four-layer 20cm (8”) cake
Serves 12-16 generous slices and up to 24 event-style slices
Ingredients
Mocha Mud Cake
500g butter, coarsely chopped
300g dark chocolate, coarsely chopped
880g (4 cups) caster sugar
4 tsp vanilla paste
4 tbsp instant coffee granules
500ml (2 cups) boiling water
450g (3 cups) plain flour
6 tbsp self-raising flour
6 tbsp cocoa
4 large eggs
Coffee Swiss Meringue Buttercream
10 large egg whites
440g (2 cups) caster sugar
640g unsalted butter, softened
6-7 tbsp strong coffee
Chocolate Glaze
150g dark chocolate, coarsely chopped
75g unsalted butter, coarsely chopped
Decorations
Chocolate coated coffee beans
Valrhona dark chocolate and caramelia crunchy pearls
Handmade mini cake bunting
Method
Mocha Mud Cake
(1) Preheat oven to moderately slow (170°C/150° fan forced) and line two 20cm (8”) cake tins with removable bases with greaseproof paper.
(2) Halve all ingredients (see Baking Notes (2)) and use half the ingredients to complete steps (3) to (7).
(3) Combine butter, chocolate, sugar and vanilla paste in a medium saucepan, stirring over low heat until smooth.
(4) Dissolve coffee in boiling water then stir into warm chocolate mixture until well combined.
(5) Transfer mixture to medium bowl and allow to cool for 10-15 minutes.
(6) Gently whisk in sifted flours and cocoa, then eggs, until batter is smooth.
(7) Transfer mixture to one pan, ensuring smooth surface.
(8) Repeat steps (3) to (7) with second half of ingredients.
(9) Bake cakes in pre-heated oven for approximately 80 minutes, or until a cake tester inserted into centre of cake comes out clean (given the high chocolate content of this cake, it will taste better if slightly underdone than overdone).
Coffee Swiss Meringue Buttercream
(1) Place egg whites and caster sugar in heatproof bowl over small saucepan of simmering water, ensuring the base of the bowl does not touch the water.
(2) Allow the sugar to dissolve, whisking intermittently, heating to 65°C to ensure egg whites are pasteurised.
(3) Allow mixture to cool to room temperature, then whisk in free-standing mixer until white, glossy, soft meringue peaks form.
(4) Very slowly add small 1cm cubes of softened butter, and continue whisking until buttercream is light and fluffy.
(5) Continue whisking buttercream while slowly adding tablespoons of coffee to taste.
Chocolate Glaze
(1) Gently melt the chocolate and butter in a small saucepan over low heat, stirring intermittently until smooth.
(2) Allow glaze to cool until slightly thickened but still fluid.
Assembly
(1) Assembling this cake is easiest when the cake is slightly chilled, the buttercream is at room temperature and the chocolate glaze is slightly warm and fluid.
(2) Level each cake by slicing off the crusty tops, then cut them in half lengthways to yield four cake layers in total. Use the base of one layer for the base of the cake, and the base of the other layer for the top of the cake to avoid crumbs in the buttercream.
(3) Place the first layer on a round cake plate or turn-table and spread a thin layer of frosting on the top, smoothing with a palate knife. Repeat frosting between each cake layer, and then a thin layer on the sides of the cake.
(4) Place the cake in the fridge for about 15-20 mins at this stage to chill slightly, allowing this first thin layer of frosting to form your ‘crumb coat’, locking in crumbs and preventing them from entering your final coat.
(5) Remove cake from fridge and using a palate knife, spread the remaining frosting over the whole cake, creating a smooth crumb-free finish.
(6) Slowly pour the chocolate glaze on top of the cake, allowing a little to drip down the sides.
(7) Decorate the cake with piped blobs of buttercream, chocolate covered coffee beans, chocolate and caramelia pearls, mini cake bunting (or whatever fancy decorations your heart desires) and finish by dusting with cocoa and icing sugar.
Enjoy!
Credits and Sources
Cake recipe adapted from Cupcakes by The Australian Women’s Weekly
Frosting and chocolate glaze recipes adapted from Lomelino’s Cakes by Linda Lomelino
Vintage milk glass cake stand from Petite Portions
Scalloped dessert plates from Robert Gordon Australia
Looks very delicious.
Thanks Sherry, good luck baking if you have the opportunity to give it a go!
Dear Salma,
Recipe seems to have quite a lot of water comparing to white chocolate mud cake ( there is milk instead).
Is water added just to dissolve coffee?
Can it be replaced partially with milk? Maybe for more delicate taste….
I’m planning to bake two tiers cake for my daughter baptism and I thought to make bottom one white chocolate and top, smaller one mocha.
Thanks,
Gosia
Ps. Your IG photos are great!
Hi Gosia, thanks for your query and so glad to hear you like my photos. This mocha mud cake is larger than my white chocolate mud cake recipe (8″ cake vs 6″ cake) so that partially accounts for the difference in the amount of liquid. Regarding the question of water vs milk, you are most welcome to trial the recipe with milk, although I am unsure what effect the extra fat in the milk will have on the overall recipe in terms of taste, texture and rise. I have made this recipe many times with water in many different formats (cupcakes, 4″ cakes, 6″ cakes, 7″ cakes and 8″ cakes) and it has always had great results, and I hope you find it works for your cake. Happy baking and let me know if you have any further questions.
Hi Salma,
Thank you for such a quick reply.
I’ve decided to bake 10″ white chocolate as bottom tier ( already in the oven 😃) and will bake 6″ mocha for a top.
I will see about partial water/milk swap- theoretically it should work, I think.
I will post a final effect photo on Instagram.
Best wishes,
Gosia
Can I bake this into a sheet cake instead?please suggest how to modify the recipe..
Hi Sudha, thanks for your query. I don’t bake a lot of sheet cakes unfortunately so I don’t have any recommendations on how to best convert it. You are most welcome to find an alternative recipe that better suits your needs. So sorry!
Hi 🙂
I didn’t understand what degree to bake the cake at. 80 minutes at 170 or 150 degrees Celsius?
Hi Anita, thanks for your query. I would recommend 170 degrees Celsius for a conventional oven, or 150 degrees Celsius if using a fan-forced oven. That being said, the temperature should be used as a guide as ovens can vary significantly. Knowing your oven well will help to better ascertain what temperature is optimal for you. Hope this helps and happy baking 😊
Hello. I’m wondering how intense the coffee flavour is please? I have to make a “coffee” flavoured mudcake for my friend and I’m looking for a mudcake recipe that has a good coffee flavour and can be stacked
Hi Cara,
Thanks for your query. Overall the cake has a lovely chocolate-coffee flavour, as the buttercream has coffee in it. The cake itself is more of a deep dark rich chocolate flavour, with the coffee added to intensify the chocolate. You are welcome to add extra coffee though for an extra coffee hit! Hope that helps and happy baking 🙂
Salma
Hi, I’ve just combined the choc, butter and sugar and it won’t reach a smooth consistency, I think it may have crystallised, will it work itself out in the oven or shall I redo the hit bit? Many thanks.
Hi Tracey,
Thanks for your query. If the heat was quite high while mixing the ingredients, the chocolate may have burnt or seized, but it is difficult to know without seeing what your mixture looks like. Usually the mixture will appear very well combined, but may be slightly grainy with the sugar, and once the water and coffee are added, it will appear quite smooth. I hope this helps and hope the rest of the baking attempt went well. It is usually quite a forgiving recipe, despite it appearing somewhat daunting being a layer cake. It is also still one of the most popular recipes on the blog despite being one of the oldest! I hope your efforts were rewarded and you enjoyed it.
Kindest,
Salma